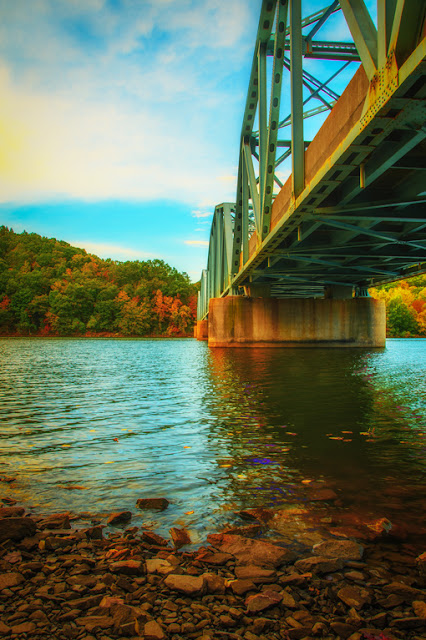
 Lately I've been featuring a couple of Connecticut's larger
cities. Notably, Hartford and New
Haven. Coming up I have several more
cities I think will make good subjects for images and probably
discussions. Today's post and image are
geared more toward the quieter side of the state. There is a part of Connecticut that's
referred to as "The Quiet Corner", but that's the northeast piece of
the state and almost as far as you can get and still be in Connecticut. In past posts I've talked about Kent and
western hills. Today we're about on line
(north/south) with mid-state and one town in from the New York State line. The bridge in today's post spans Lake
Lillinonah along Route 133. It connects
the small town of Brookfield and the smaller town of Bridgewater. The lake is manmade and ends at the Shepaug
Dam in Monroe (?). There's a little parking area at the south
side of the bridge. An
"informal" trail leads down under the bridge to the spot where
today's shot was taken. To find out
about the processing of today's image, hit the "Read More".
When we left the house there were beautiful clouds in any
direction you looked. The first order of
business was getting some lunch. After
lunch the sky had darkened considerably and the great, puffy clouds were headed
east. When we got to the bridge it was
to the point where you had to be selective about pointing the camera to get any
clouds. The shot(s) is a five shot
bracket at one stop increments. Only
shots one, three and five were used to make the HDR composite. It was done using Adobe Photoshop CS6's HDR
Pro. Once the HDR screen came up the
only thing done there was to make sure it was set to 32 bit. This gives, basically, an unvarnished image
to send back to Adobe Photoshop Lightroom 4 (LR4).
Back in LR4, the shadows were opened up and the highlights
brought down. To give more emphasis to
the sky a diagonal Graduated Neutral Density filter was applied. (Upper left to below the bridge
ironwork.) Another GND filter was applied
to the rocks at the bottom to give then some heft.
Next was a trip to Nik Color Effects Pro 4 directly from
LR4. There it was just playing. Open a filter to reveal its possibilities and
say "hmmm. that looks like it might be interesting" and click it
goes.
From there it was back to LR4 and over to CS6. The Nik'd version and the straight (yeah,
right) version were opened in CS6 as Layers.
(in LR4 - Photo/Edit in/Open as Layers in Photoshop) Since both Layers were different version of
the same image, no alignment was necessary.
With all the LR4 stuff and the Nik stuff, the concrete sides of the
bridge had become too warm. The original
LR4 version was too pale. Putting a
Layer Mask on the top Layer allowed a compromise to be made on the concrete
only.
Back to LR4 (if you don't have LR4, Adobe Camera Raw
[ACR]will do the same) for a final touchup and a vignette. (A subtle vignette.)


0 comments:
Post a Comment