It was five years ago (almost to the day [4/21/2009]) that
The Kayview Gallery (TKG) had its initial post.
I looked back at some of the early images and, frankly, some of them
gave me a giggle. What the hell was I
thinking? There's a few I still
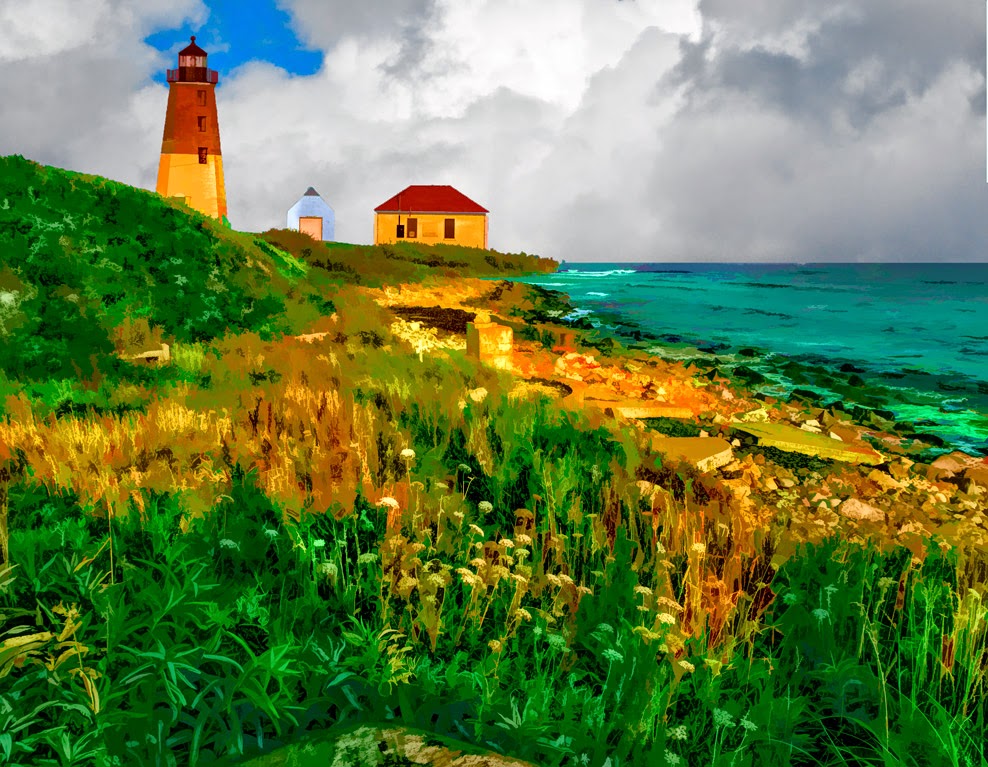
like. The very first post was about an
image I took at one o'clock in the afternoon and turned it into a reasonable
night shot. A retired professional
photographer, when looking at the print, wanted to know how, if it wasn't a
night shot, did I get the interior to look right. I think I remember telling him it was a very
special trick I used. Truth is, what
looked like an interior was actually the reflection of the building across the
street. I changed the color of the panes
of the window using the Color Blend Mode to give the appearance of warm
tungsten light. It was an exercise in
the mind seeing what it wanted to see rather than what was reality. Other things going back through the Blogger
online database for TKG I'm reminded for the slow start we had. The first post, to this day, has only seven
total views. Even today, TKG isn't
exactly one of the big name photography blogs.
Just an eclectic few (hundred) who read it on a regular basis. There are thousands who pass by, but I've
come to recognize some of the frequent readers.
Some folks in Bozeman Montana check TKG about every day to see what's
new. According to Google Analytics there
been twenty one different people from Bozeman stopping by almost three hundred
times during the past year. There's
about 38,000 people in Bozeman. If I
could get that same ratio of readership from New York City that would be
something over one hundred thousand reads (for one city) rather than a little
less than one thousand. Guy (or folks)
in Bozeman? I appreciate your support. TKG has been one of the blogs featured in the
Photoshop section of Alltop . We're selected as "Most Topular"
often enough to make me smile. Thanks to
Alltop. Thanks also to all who have
mentioned TKG on their blogs and sites.
We've gotten nods from Planet Photoshop, Lightroom Killer Tips, MasterPhotoshop, Photoshop User and a bunch of others. It is nice to know we're occasionally noticed
by the heavy hitters.
How about if we make post number 500 a record breaker. Make it some sort of chain letter type of
thing. Send it to ten of your friends
and ask them to send it to ten of theirs.
There won't be any sort of prize or payoff, but if the results are
magical I'll report back on the next post.
So, thanks to all readers.
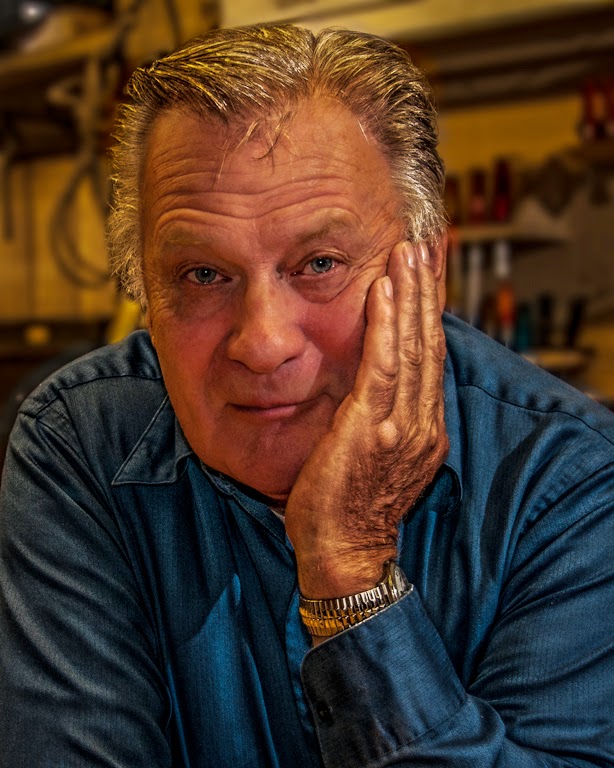
Those loyalists and those who are dropping by for the first time. I appreciate your interest. I hope you get a kick out of today's image.
Read more!


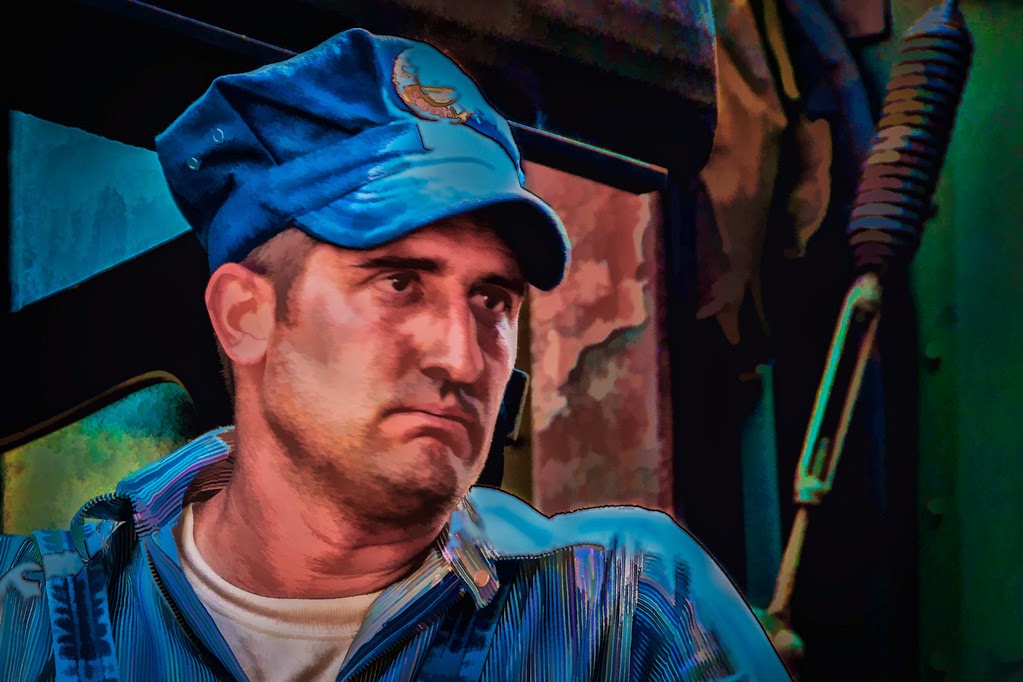
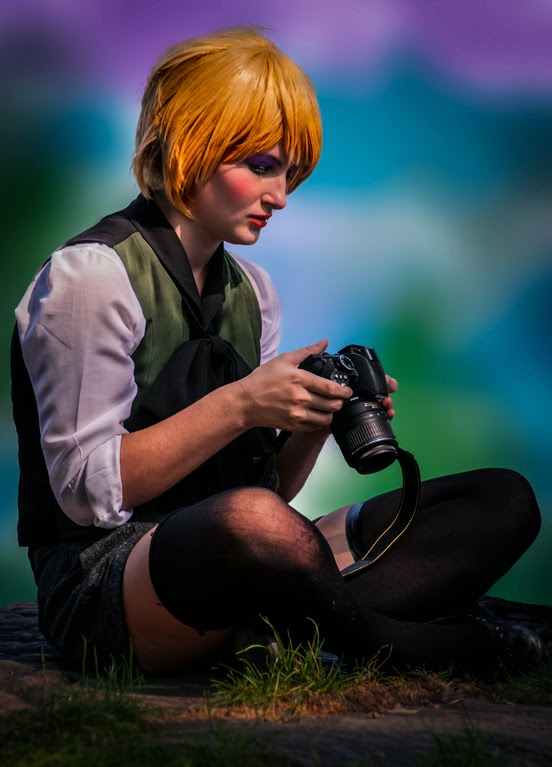
 This Saturday past there was an interesting event down in Stamford (Connecticut). They had a pre-parade Helium balloon filling "party", with street performers, musicians, and "characters" of all stripes. Some were there as part of the entertainment. Others, not so much, but still quite amusing. The subject of today's image showed up just as dusk was settling in. Because of the changing light it was easier to use the expensive computer (the camera) as a shoe box (shoot in manual mode) and not trust the camera to make any decisions. I'm big on using the technology available whenever possible. Typically, I make the decisions and let the camera do the heavy lifting of figuring out how to execute my vision. Sometimes, rather than arguing with the machine, its easier to do the decision making and setting the parameters of the shot. To get an idea of the thinking behind today's image and see how it was finished, hit the "Read More".