
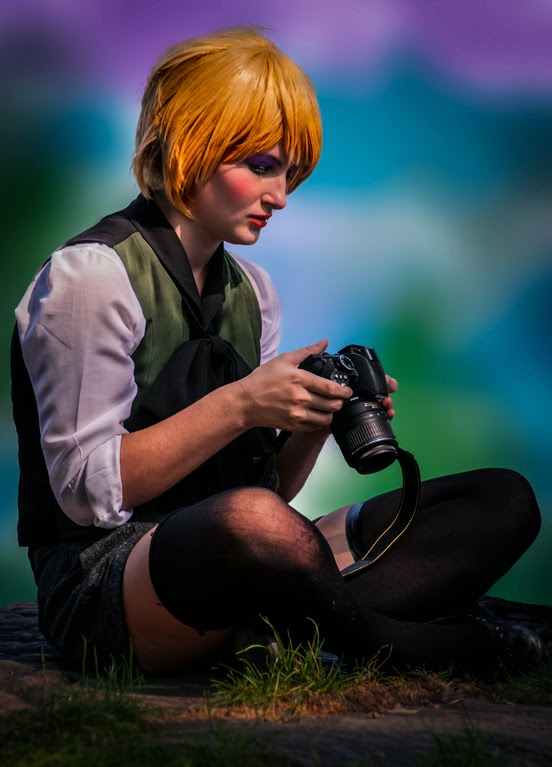
The makeup has been discussed on the blog in the past. Get a big (relative), soft Brush (B), pick a
color, daub the color on the apple of her cheek, change the Blend Mode of the
Layer to Color and adjust the Opacity.
No problem. With the upper (and
lower if needed) eyelids the only difference would be to smear rather than
daub. One tip would be to put everything
on its own Layer. The Opacity of the
rouge on the cheeks will undoubtedly be different than the Opacity of the eye
shadow on the eyelids. Use as many
Layers as you need to keep maximum flexibility.
When you get to the lips a harder (not 100%) Brush (B) is needed to keep
from smearing lipstick onto the face. As
you work, enlarge the image until you can easily work on the area at hand. Picking an interesting color palette. You wouldn't want to use red, red, red. That would be somewhat weird. The apple of the cheek, some sort of red to
pink. Today, the eyelids and lips could
be almost anything, depending on the model and what you're going for.
The Dodging and Burning is pretty interesting. Make two Curves Adjustment Layers. About a quarter of the way in right side (in
the highlights range), grab the curve and pull it up rather severely. The image will be blown out. Hit CTRL I (eye) to invert the Mask to
Black. (That'll hide the blown out
look.) I recommend titling this Adjustment
Layer "highlights". Take your
other Curves Adjustment Layer and grab the curve about a quarter of the way in
from the left side (in the Shadows range).
Pull that one down. You'll see
that the image goes pretty dark. Title
this one "shadows". Invert the
Mask to Black. With a thin (10 to 13
point), hard (about 95%) white Brush (B) (white for both highlights and
shadows) draw lines following the shading on the image. Every place you put a dark, put a light next
to it. You'll see that the darker areas
produce darker lines. The lighter
shadows produce lighter lines. Same goes
for the highlights. The brighter areas
make lighter lines and the not so bright areas make not as bright a line. Now, in the Adjustment Panel Information
flyout, bring up the Feather Slider. At
10% you won't see anything happen. Same
for 20%. Starting at about 30% the lines
will dissolve. Flip on and off the
visibility (the eyeball icon) on the Adjustment Layer. You should see the image brighten or darken
depending on which Adjustment Layer you are turning on and off. If nothing is happening, bring the Feather
Slider back down a little. (If too much
is happening, bring it up a little more.)
When it look good to you, you're done.


0 comments:
Post a Comment