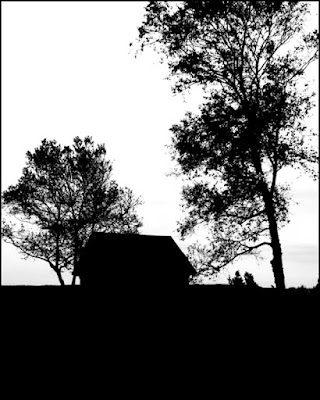
 Today’s image might look a little familiar to some. If you flip back to the March 24th write up you’ll see it in that post also. I had just finished an image for today’s post and was going through the folder looking for it. It’s there, you’ll probably read about it next week sometime, but as I pasted the image of the mask I pulled up short and did a double take. I liked what I saw. The mask makes a pretty darn good image on its own. It’s very graphic in the presentation of the scene, but it works. Back in the “good old days” of film and the smell of fixer I used to do a fair number of images like this one. It was thought to be something a little special, even by the “good printers”. The reason was that you had to have the right subject (we do), you had to have the material to create the negative (Kodak Kodalith cut film), and you had to have a little knowledge of how to work with the stuff. Today, it’s easy. You still need the right subject, but with Photoshop, and a little knowledge, we can make the same type of images that were thought to be slightly special “back then”. One of the things I like about today’s image is the slight hint of grey to the right of the right hand tree, indicating some clouds. Just as making this type of image in a wet darkroom required some degree of knowledge, getting a mask with as much detail as today’s image also requires “knowing the trick”. If you’d like to learn a little more about “the trick”, hit the “read more”.
Take a shot. With the right subject it makes a striking image. It can either be something blocky or something delicate. It works for me. ???


0 comments:
Post a Comment