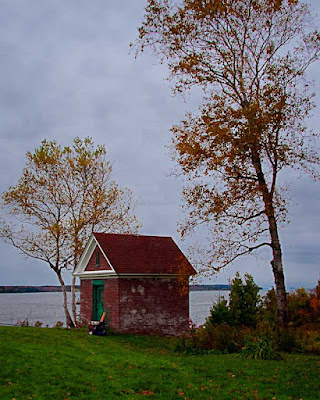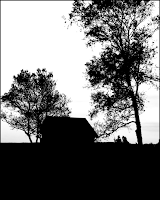
 I think I’ve seen the gamut when it comes to people mis-understanding masks. I was at a “class” beiong taught by one of the areas self proclaimed Photoshop “experts”. The guy’s a professional photographer and he does make money using Photoshop. He just doesn’t know what he’s doing. The problem posed to the fellow was to make a woman’s face smoother, to give it a porcelain appearance. He said “no problem” and went about demonstrating how he would accomplish the task. The first thing he said was “I’d want to use a mask”. I thought that was a great start. He grabbed the Quick Mask Tool (Q) and painted in the cheeks, chin, length of the nose and forehead. He proudly announced “now we have a mask”. That took me aback, so I asked, “you do realize you’ve made a selection and don’t have a mask, right?”. His response was “no, no, you don’t understand. I used the Quick Mask Tool, so therefore I do have a mask”. That got me to wondering if this guy might have thought the Magic Wand Tool really had some magic to it. At another class, on a different day, in a different location, a woman was teaching masking techniques. I’m always up for adding a trick or two to my kit, so away I went to pick up a nugget or two. Her idea of making masks was big chunky blocks. Her apparent only use for masks was to produce knockouts to build montages. It’s a legitimate use for masks, but every time she didn’t quite get the mask where she wanted it she’d say “oops” and draw the mask again and again until she got it right. It appeared she didn’t know she could unlink the mask and move the mask or the layer independently from one another. Another “instructor” on the minus side of the slate. There are people running around giving classes on Photoshop (usually local “experts”) who must believe in the adage of “how fast do you have to run to escape a bear. One step faster than the guy next to you.” These people seem to know a little bit more than the folks sitting in front of them, so “the audience” thinks they’re learning valuable techniques. To learn more about the mask used on today’s image, hit the “read more”
You do have more choices than you might think. It’s not just Red and Blue, or Blue and Green, or Green and Red. You can also select Blue and Blue, Red and Red, etc. The first decision is which Channel gives the best contrast. Decide what Channel you want to work with it with. (Is that good English?) Go to the Blend Mode and cycle through the choices until you find the one that works best for you. Play with other iterations until you come up with the optimum solution. After you’ve played with this Photoshop feature a couple of times it will become second nature and you’re masks will become incredibly easy to produce.


0 comments:
Post a Comment